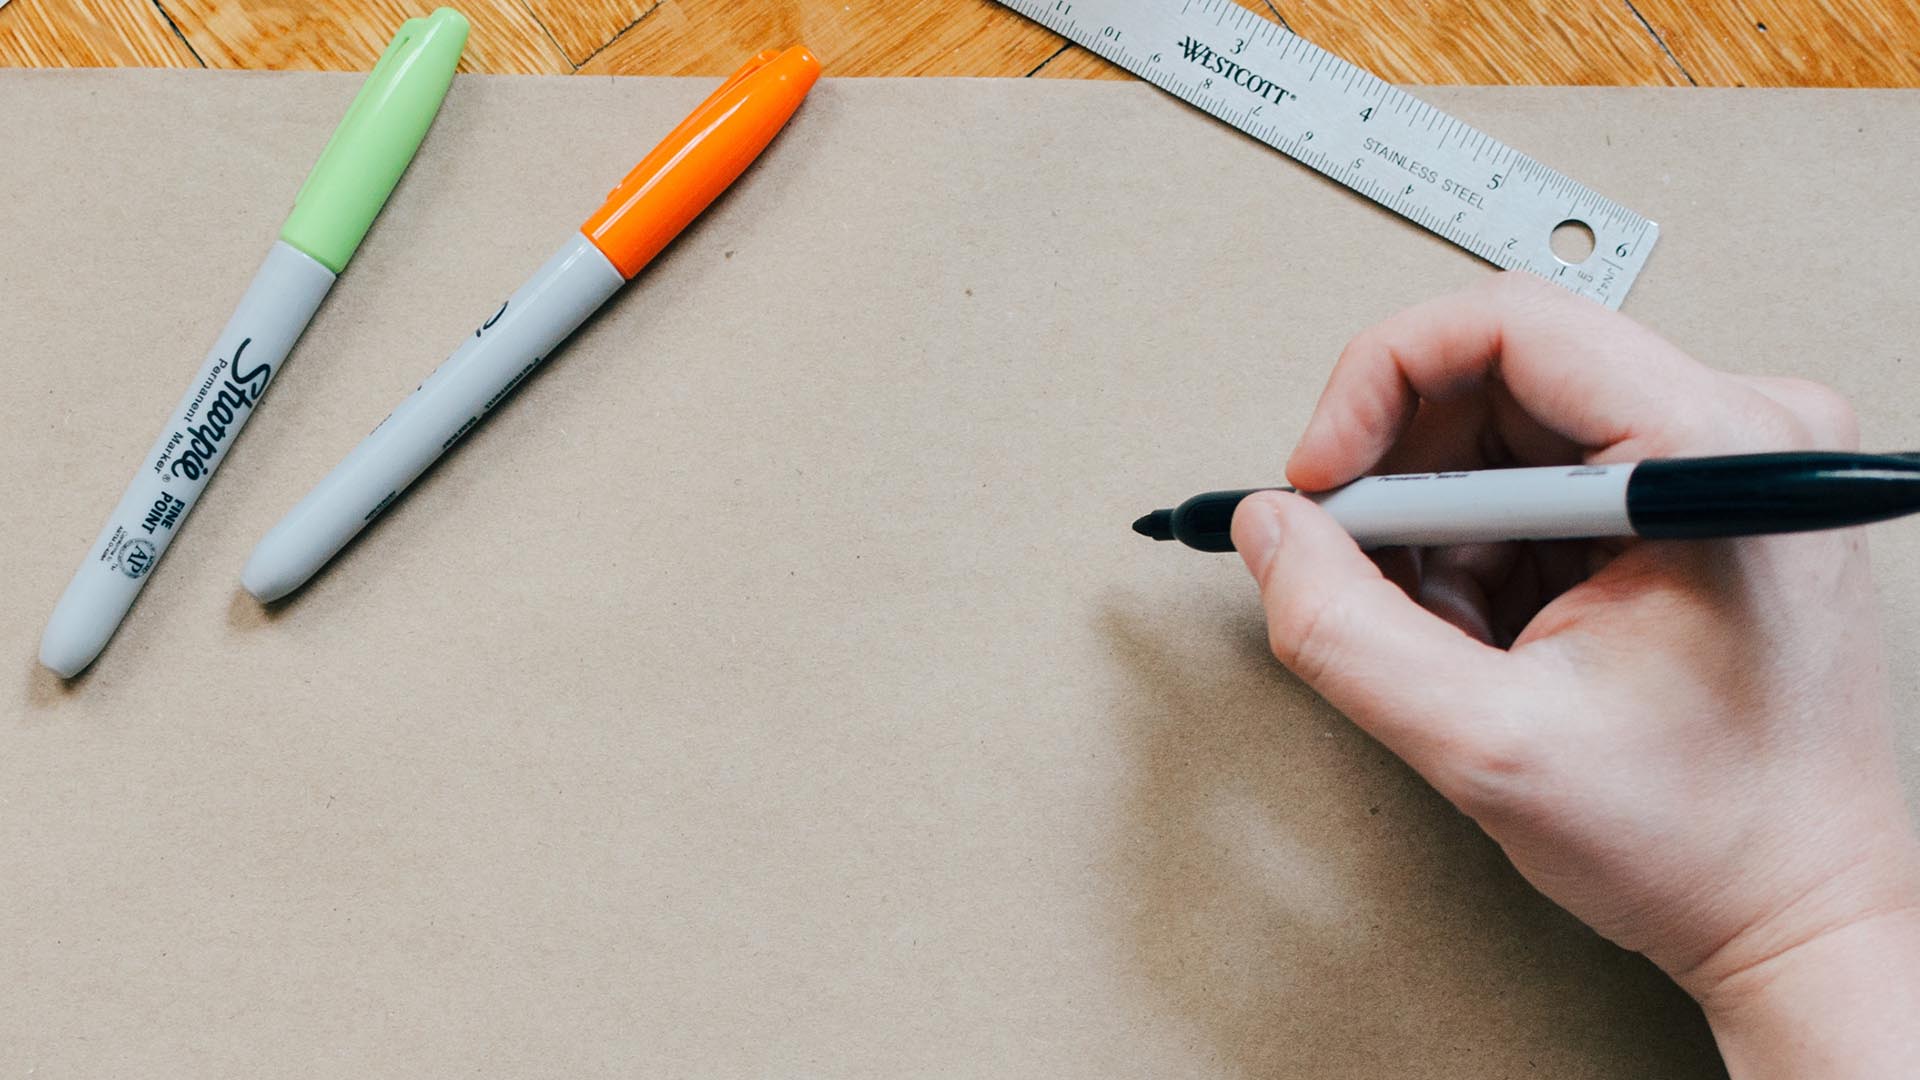
Last week we sent out our first round of blind play-testing Print-N-Play files. It’s super-exciting to give the game to strangers on the Internet for the first time and ask them to print 26 pages, cut out 100 cards and then play your game from rules you just wrote down. Here are the steps necessary to get that far.
Since there are so many steps, I’ve put them in list format. What follows is a summary of what we did to get there.
- Design a game (d’uh!): To be able to make a Print-N-Play, you’ll need to make a game. Obviously.
- Do in-person play-tests: It’s really not that useful to send out rules and print files to the Internet without having a solid playtesting base under your belt. There are so many things you’ll find during playtesting at home, with friends and in board game groups where you are present that you really should use all of these avenues before you turn to the Internet for help.
- Decide you want to blind playtesting on the Internet, and that you’ll package your files into a PnP.
- Agonize about that decision for a few months.
- Start writing rules that you think someone might understand without you being there.
- Scrap everything from point 5 and start over.
- Scrap everything from point 6 and start over.
- Show the rules from point 7 to someone you trust, then scrap them and start over.
- Show them the rules again, this time don’t scrap everything but refine instead.
- Repeat 5-9.
- Remember that your game consists of not merely the rules but also the cards.
- Get nanDECK and design your cards:
- Start with a tutorial.
- Add your number of cards.
- Add your card backs, fill up blank pages to enable double-sided printing, otherwise, nanDECK will misalign the cards.
- Start adding the cards.
- Start adding lots of cards.
- Notice that your numbering is wrong, add the cards you actually need as well.
- Find a nicer font. Re-do everything in that font.
- Notice that your numbering is off again and fix it right.
- Add some graphics (if you have some), notice that the build script is getting much slower.
- Put the right graphics in the right place. Enjoy breaks while the deck is building.
- Fiddle with fonts and layout to make the cards look nice.
- Admire the result.
- Notice that your game consists of rules, cards and a board. Make the designs you had for the board printable and add them to the PDF.
- Notice that your game consists of rules, cards, a board and player mats. Add those to the PDF.
- Collect all the files you need and upload them somewhere.
- Create Google Forms for feedback on the rules as well as on gameplay.
- Tell the testers you gathered in step 4(a) about the files and the feedback forms.
- Marvel at the excellent feedback you get.
It’s really a joy to see so many people play our game now, even though some of the feedback we get is quite tough to swallow. There are definitely some game-breaking bugs in our rules, still, as well as so many stylistic changes we need to do. And it’s excellent to be told about this, so I am grateful to all testers involved.
If you are designing a game, I urge you to get the word out about it and get as many people as you can to playtest it, including blind playtests over the Internet. The feedback you get is incredibly valuable!